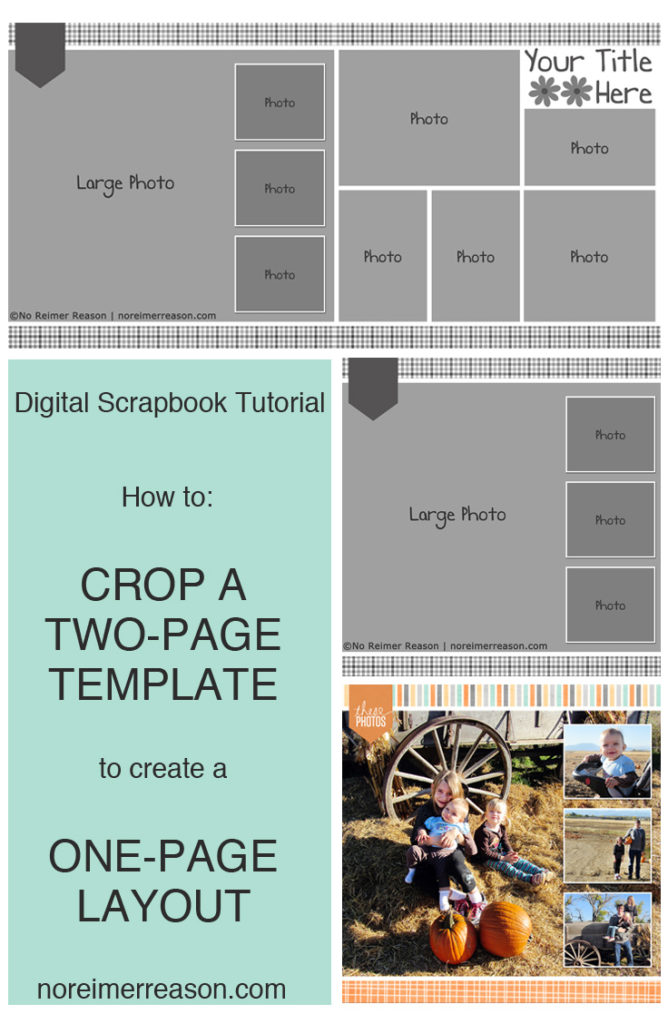
How to Crop a Two-Page Template to Create a One-Page Template
Have you ever found yourself with a great two-page digital scrapbook template but decided you really only wanted to create a one-page layout, using just half (one page) of the template? It is really simple to do!
Open the template in Photoshop.
First thing, do a “Save AS” and save your template under a new name. This ensures that your original template remains “as is” and all changes will be applied to your new copy. (This is super important, so you can reuse your original template again for future layouts – one of the beautiful things about digital scrapbooking!)
Select the Crop Tool. For a 12×12 layout, set it to crop 12 inches width by 12 inches height. (For an 8.5×11 layout, set the width to 8.5 inches by 11 inches height.)

Select the side of the template that you want to use and draw a 12×12 square over that part, starting from one of the outer corners and drawing in. The settings you selected in the previous step will help ensure you grab the full 12×12 portion. Click the check mark once you have the full page selected.
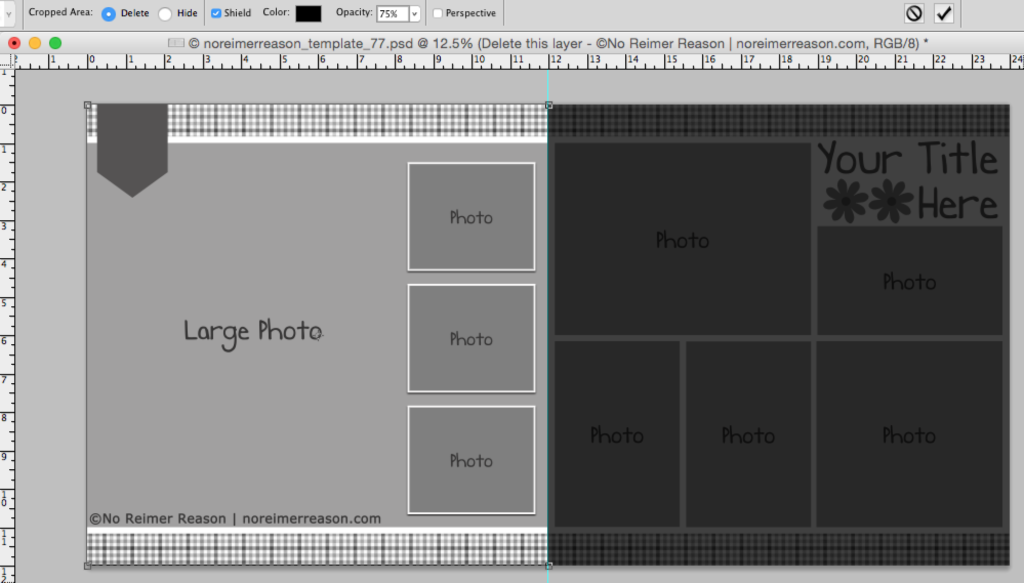
You have now updated your template to be a one-page template and can start clipping your photos and papers to the layers.
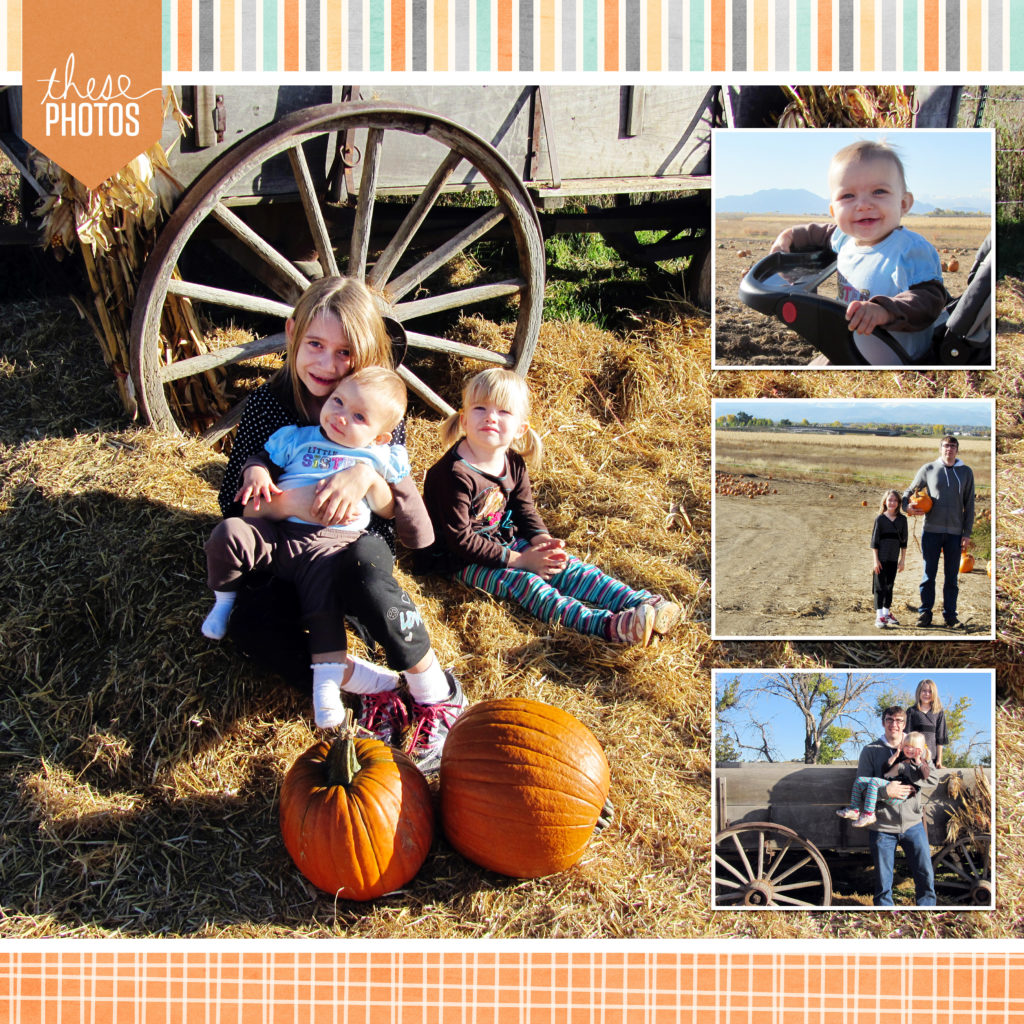
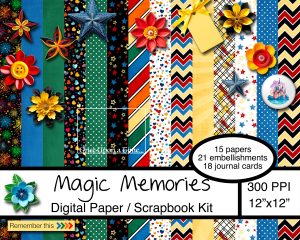
Layout Credits: Template by No Reimer Reason, Papers by Traci Reed, Tag by Paislee Press
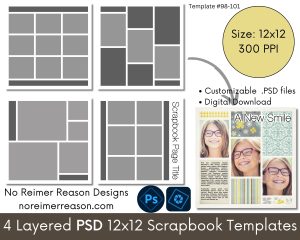
The Template used in this tutorial is No Reimer Reason Template #77 and can be found in my Etsy Store. I have a 12×12 template and an 8.5×11 template available in this style.


Recent Comments