How To Use a Digital Scrapbook Quick Page In Canva
Many digital scrapbook designers like to create “Quick Pages” or “Premade Pages” for their followers. These PNG file Quick Pages are completely created and finished with the exception of the photos, making them a quick and easy way to finish a scrapbook page layout.
These quick pages are typically used in Adobe Photoshop Elements, where the ability to use layers makes it easy to insert your photos in a layer below the layout itself. But with just a bit of finagling, these PNG files can also be used in Canva to complete a layout. These directions were created using a free Canva account in a web browser. (Note: some quick pages may be more complicated to use in Canva, depending on their photo shapes and proximity to each other.)
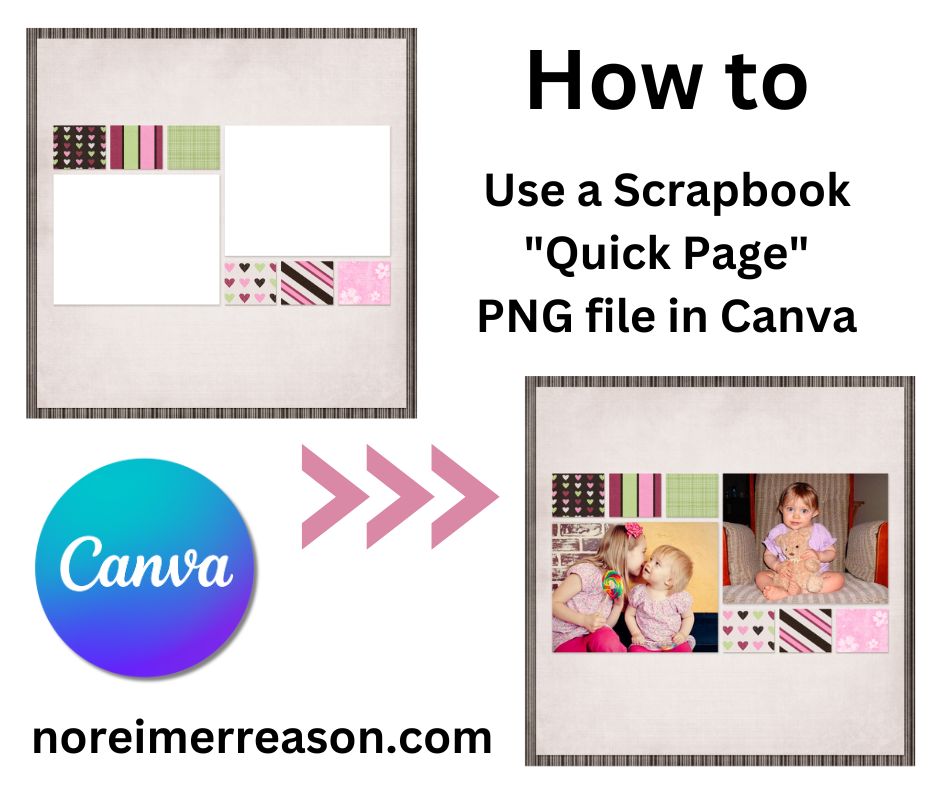
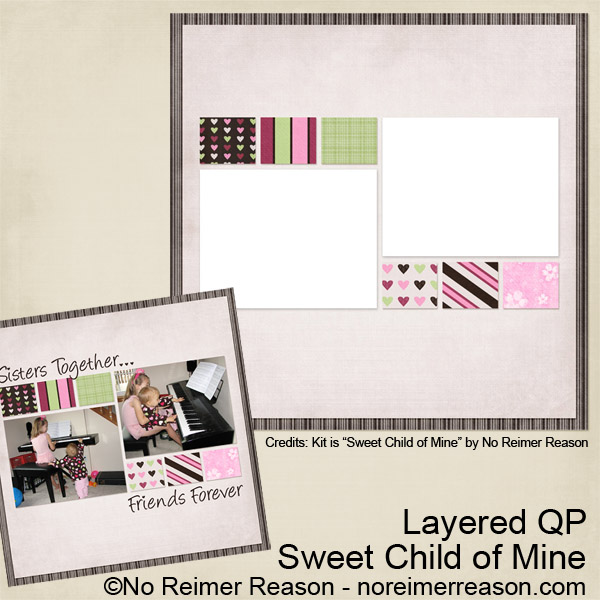
If you’d like to use the Quick Page that I am using for the example, it can be downloaded for free here.
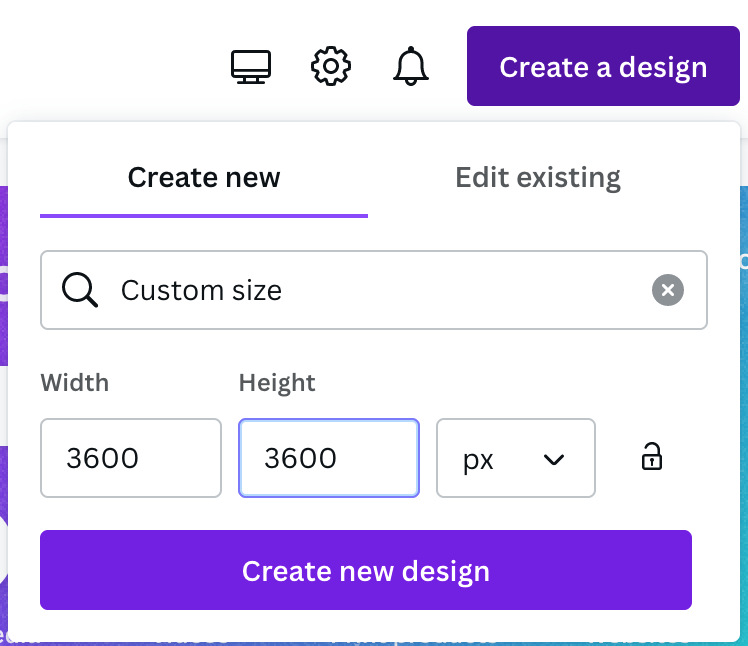
1. Login to Canva.com and click “Create a Design” in the top-right corner.

2. At the bottom of the drop-down list, choose “Custom Size” and enter the number of pixels for the quick page. In this example, the layout is 12″x12″, which is 3600px by 3600px. (300 pixels per inch is the general standard for printing.) Click Create New Design.
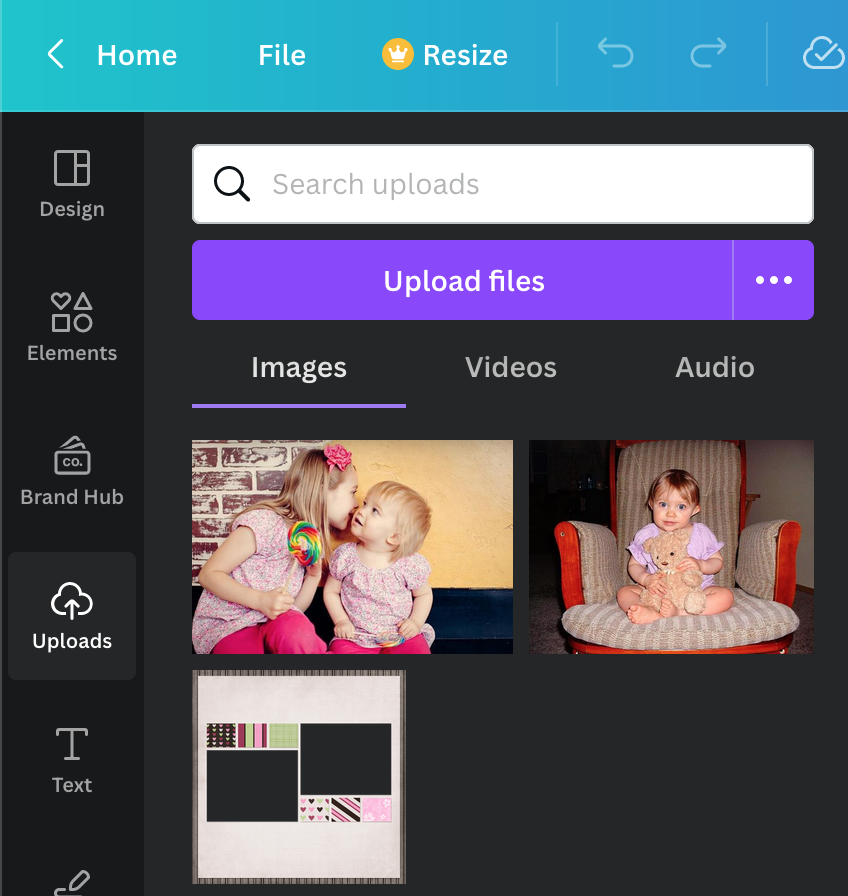
3. Upload your files. (The PNG Quick Page file and any photos you will be using.) This can be done using the “Upload files” button or by dragging and dropping photos from your computer’s file system into the Canva uploads section.
4. Go to File/View Settings/Add guides.
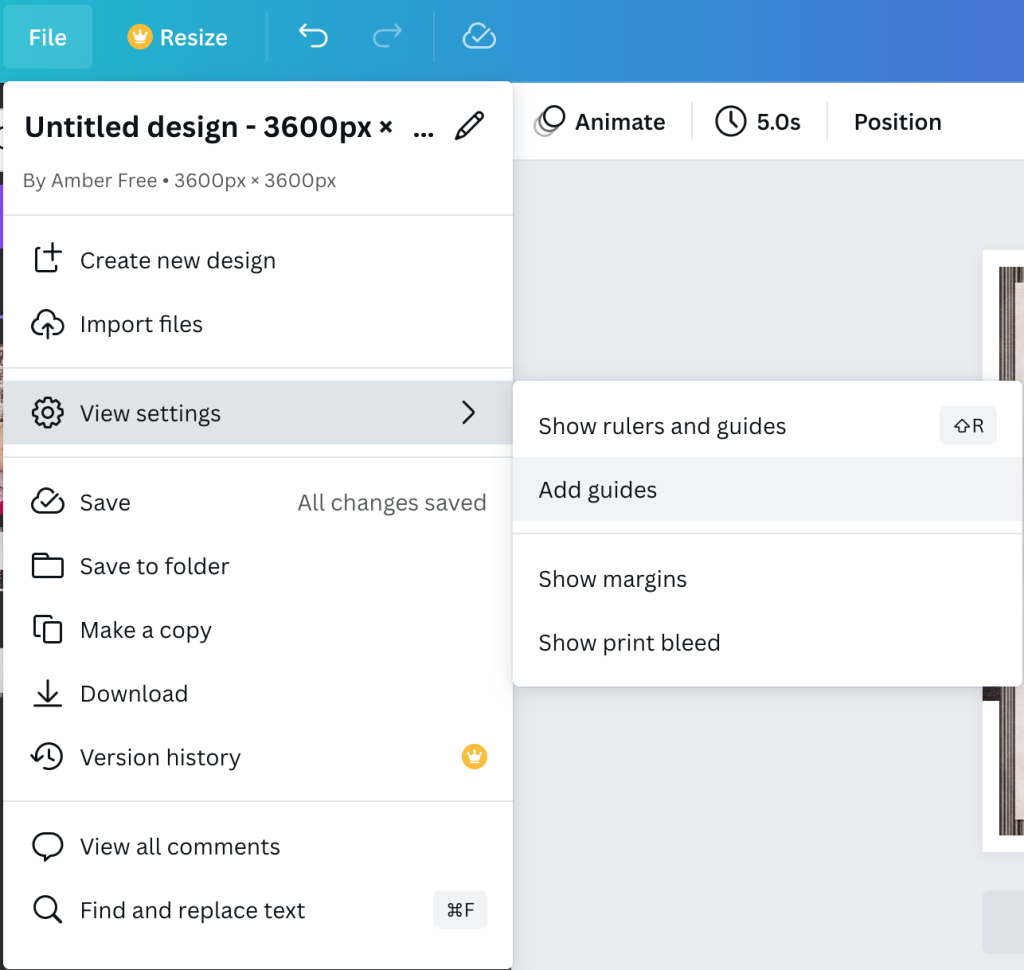
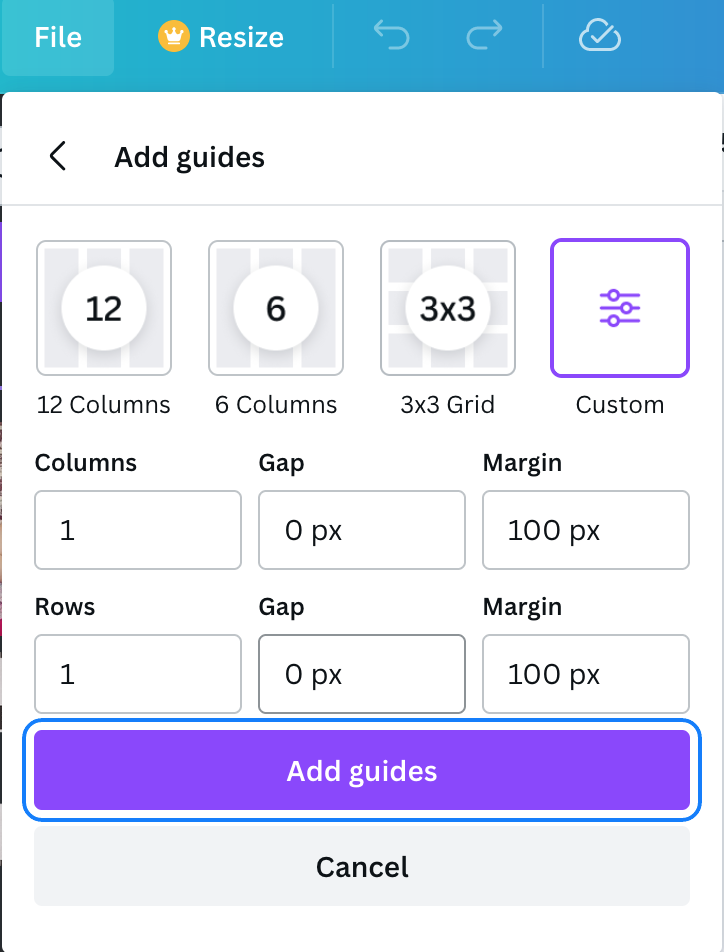
5. Choose Custom. For columns, choose 1 column, 0 gap, and 100px for margins. For rows, choose 1 row, 0 gap, and 100px margin. Click “Add guides”.
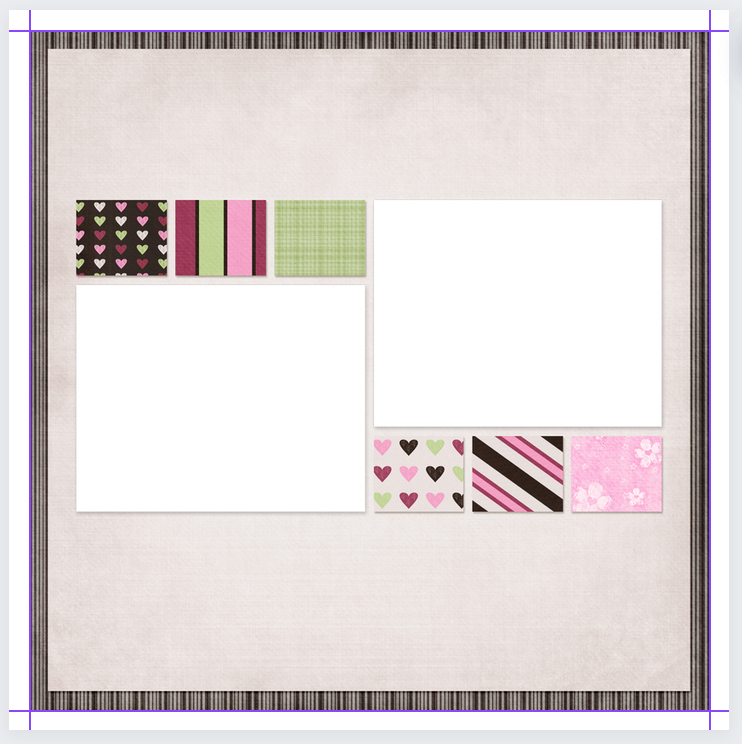
6. Your document should now have a 100px margin all the way around.

7. Click on your Quick Page PNG file to add to your new design. Resize the quick page up to the margin borders. DO NOT resize it to the edge of your document, as that will make it become the background image, which we do not want (yet) as we need to move your pictures behind the Quick Page layer first!
8. Click on one of your photos to add to your scrapbook page. Move it into its general position. Right-click and choose Layer/Show Layers.
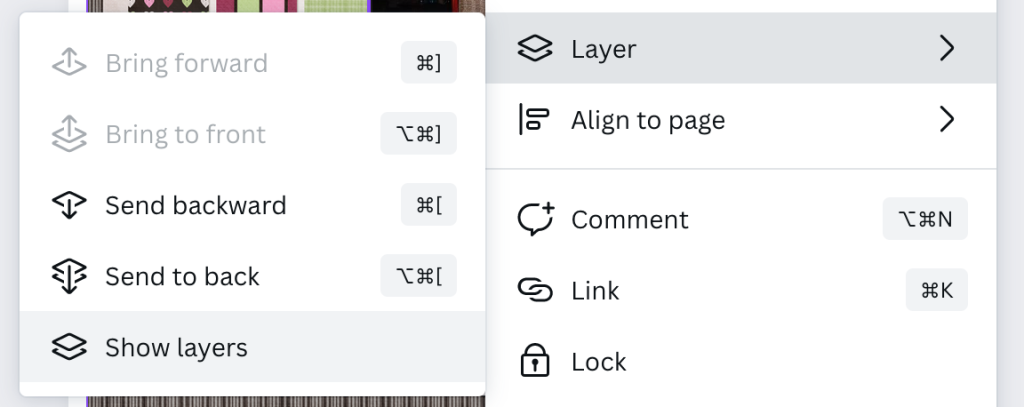
9. In the layers palette, move the photo layer so it is below the quick page layer.
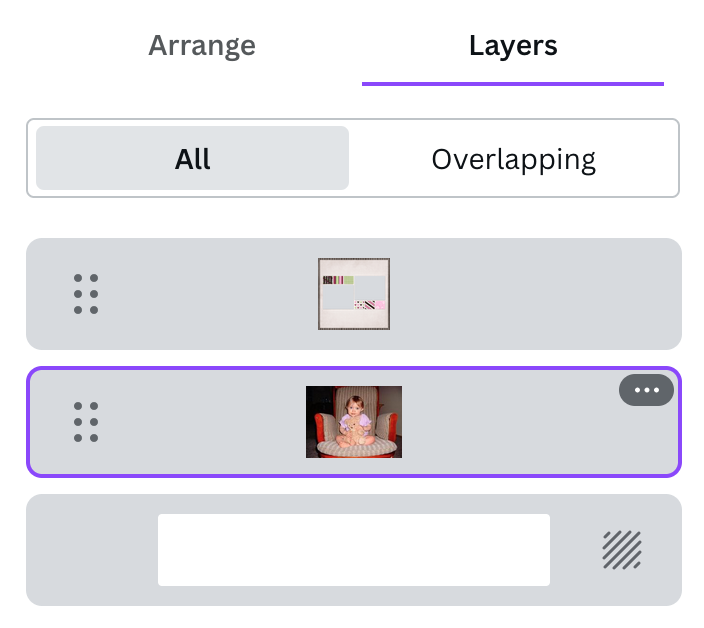
10. With the photo layer selected, continue to move your photo into the desired place, resizing or cropping as needed. (In this example, you can see that this photo is going to overlap into the photo box of the 2nd photo, so I may want to do some cropping. (Which can be done by moving the middle bars on the photo outline inwards.)
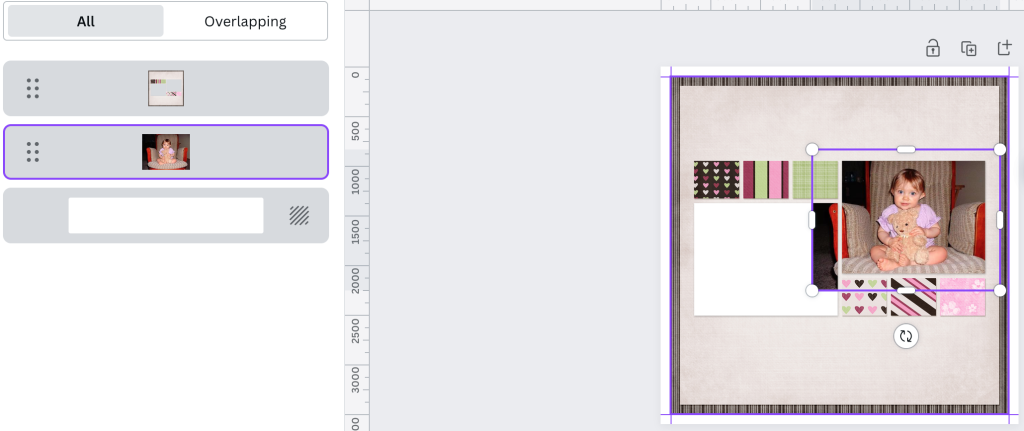
11. Repeat steps 8-10 for any additional photos. (Click on the uploads tab on the left to see your remaining photos.)
12. Once all photos are in place and you are happy with their placement, click and drag to select your entire page and its photo layers all at once. With all layers selected, resize so that the layout is now covering the entire white canvas.
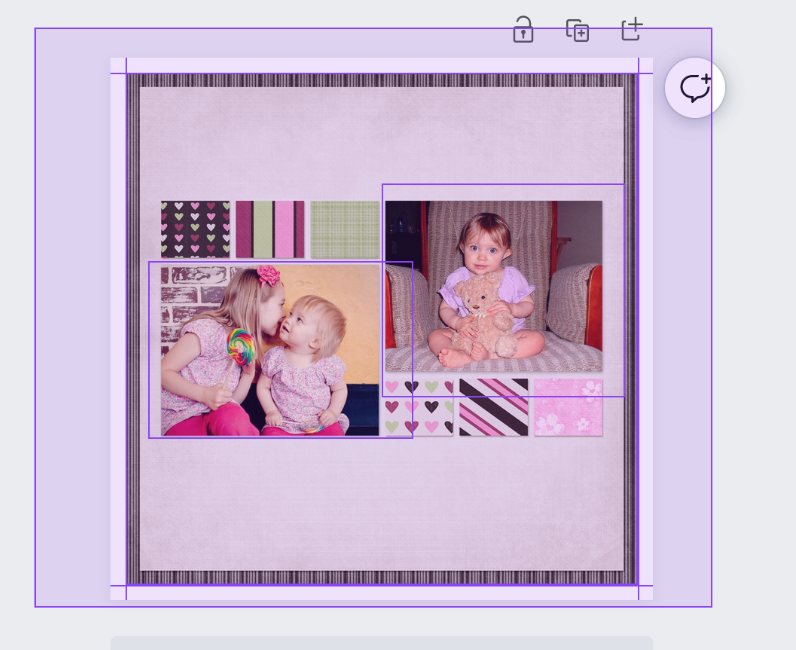
13. You can add any additional embellishments, journaling, or titles at this stage. (Optional)
14. You are finished! If you haven’t already, rename your layout from “Untitled” to a better name up in the top right so you can easily find it in your projects.
15. Click Share/Download to choose your preferred file type to download and share and/or print.
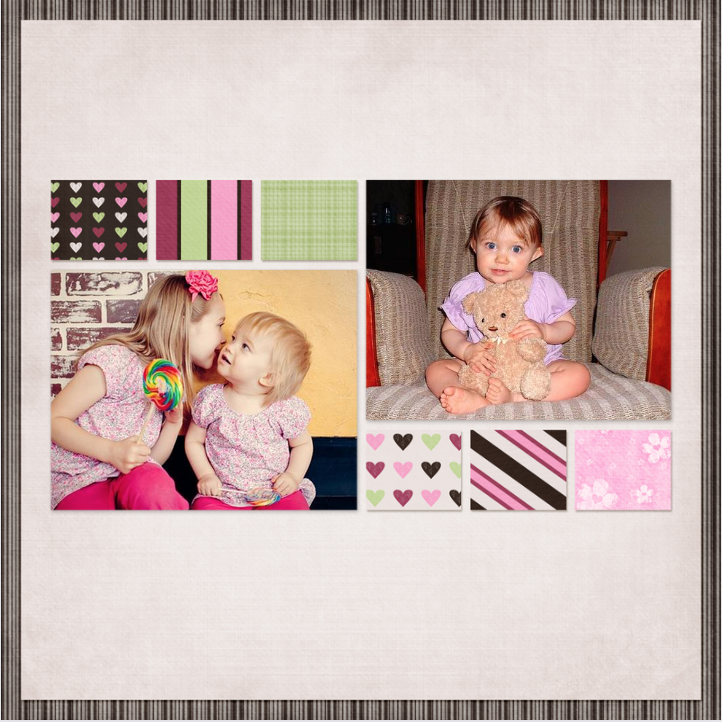
Final layout example:

Recent Comments